Struggling with how to keep your deep fryer clean and efficient? Effective deep fryer cleaning is key to ensuring top performance and food quality. In this article, we’ll provide you with practical tips to maintain your deep fryer, illustrating daily, weekly, and monthly cleaning routines.
Key Takeaways
- Regular cleaning of deep fryers enhances performance, food quality, and safety, reducing costly repairs and health risks.
- Establish a daily and weekly routine for cleaning, including removing debris, boiling with detergent, and thoroughly rinsing to maintain efficiency.
- Monthly boil-outs and annual professional inspections are crucial for deep fryer maintenance, ensuring longevity and optimal operation.
Importance of Regular Deep Fryer Cleaning
Regular cleaning of commercial deep fryers is vital for maintaining performance, safety, and food quality. Think of it like this: just as a musician needs to tune their instrument, a commercial deep fryer needs consistent cleaning to perform at its best. Routine cleaning ensures optimal fryer operation and high-quality food production. The buildup of debris in fryers can degrade oil quality and harm the taste of fried foods. Nobody wants their crispy fries tasting like last week’s fish!
Moreover, neglecting fryer maintenance can lead to increased oil consumption, costly repairs, and potential health hazards. Imagine the frustration of dealing with a broken fryer during peak hours, all because of neglected cleaning. A clean fryer not only prevents such mishaps but also extends the lifespan of the fryer by minimizing wear and tear.
Knowing the specific needs of your fryer model improves maintenance and food quality. Using professional maintenance services can further improve fryer safety and operational longevity. Regular fryer cleaning isn’t just good practice; it’s key to running a successful kitchen.
Daily Cleaning Routine for Commercial Deep Fryers

Start your daily cleaning routine by removing large food pieces or debris with a slotted spoon or wire mesh skimmer. This simple step prevents larger particles from burning and affecting the taste of your frying oil. Then, clean any large food particles from the fryer basket and bottom before the full cleaning. This ensures that the baskets are ready for the next batch of delicious fried foods.
After addressing the interior, don’t forget to wipe down the fryer’s exterior to avoid grease accumulation. A clean exterior not only looks professional but also reduces the risk of slips and falls in the kitchen. Regular cleaning practices help maintain the efficiency of high-use fryers and make regular maintenance manageable.
Remember, a few minutes of daily cleaning can save you hours of deep cleaning later on. This routine maintains your fryer in top shape, ensuring every batch of fried foods is as tasty as the last.
Weekly Deep Cleaning Process
A weekly deep cleaning process is necessary for a more thorough clean. Start by cooling the fryer and draining the oil, then remove any baskets and scrape the interior to eliminate built-up residue. This step guarantees no remaining debris interferes with the cleaning process. Fill the fryer tank with cool water and add a suitable cleaning solution to help loosen grease.
Boil the water and detergent mixture for at least 10 minutes, extending to 15-20 minutes for more heavily soiled fryers. Boiling helps break down stubborn grease and stuck-on particles. After boiling, let the water cool before draining and thoroughly rinse the fryer to remove any cleaning residues. Ensuring no cleaning agents remain is crucial, as they could affect the taste of your food.
A cleaning rod or scraper is necessary to clean hard-to-reach areas inside the fryer. Regular maintenance involves cleaning the interior walls, corners, and base of the fryer to remove built-up residue. Your fryer will reward you with consistent performance and delicious results.
Monthly Boil-Out Procedure
The monthly boil-out procedure provides a deeper clean targeting stubborn buildup. Fill the fryer with water and a heavy-duty, high-alkaline detergent, then bring it to a boil to remove stuck-on grease and carbon buildup. While boiling the water and detergent mixture, scrub the interior surfaces with a long-handled brush for thorough cleaning.
Perform the boil-out process about once per month, depending on usage and oil management standards. Fryers with high usage might need this process more frequently. Using a heavy-duty cleaning solution in the fryer water during the boil-out process ensures effective cleaning.
After the boil-out, let the fryer cool before draining and rinsing thoroughly. This monthly routine helps maintain the fryer’s performance and extends its lifespan.
How Often to Change Fryer Oil

The frequency of changing fryer oil depends on the type of food being fried. Breaded items, for instance, typically require more frequent oil changes than non-breaded foods. If you notice the fryer oil becoming darker in color, it’s a clear sign that it’s time to change your oil.
Regular oil changes are essential for maintaining food quality and fryer performance. Using fresh oil ensures that your fried foods come out crispy and delicious every time. Monitor oil quality and adjust the change frequency as needed.
Best Practices for Fryer Maintenance
Inspecting the fryer regularly for signs of wear and tear significantly helps maintain its operational efficiency. Catching issues early can prevent costly repairs and downtime. Regular professional servicing helps identify potential safety hazards in deep fryers.
Regular cleaning of the fryer reduces energy costs and improves performance. Keeping the fryer rod and baskets in good condition is crucial for optimal performance. Technicians offer expert recommendations for optimal fryer usage, maintenance, and the care of heating elements.
Follow these best practices to keep your fryer running smoothly.
Preparing Your Fryer for Cleaning
Before: Safety first! Turn off and unplug the fryer before starting the cleaning process. This involves closing the gas supply inlet or unplugging it to allow the oil to cool to a safe temperature. Begin by turning off the fryer and letting the oil cool down to at least 150 degrees Fahrenheit.
After:
- Safety first! Turn off and unplug the fryer before starting the cleaning process.
- Close the gas supply inlet or unplug the fryer to allow the oil to cool to a safe temperature.
- Let the oil cool down to at least 150 degrees Fahrenheit.
After the cooled oil has cooled, drain it from the fryer using the fryer’s drain plug to avoid spills. Allow the fryer to cool completely before beginning the boil-out procedure. This ensures your safety and prevents burns during the cleaning process.
Proper preparation is essential for an effective cleaning routine. Taking these steps ensures that the cleaning process is safe and efficient.
Using Cleaning Solutions Effectively
Effective use of cleaning solutions is crucial for a thorough clean. Adhere to the manufacturer’s instructions for the correct dilution of cleaning solutions to ensure safety and effectiveness. Spraying the cleaning solution ensures even coverage on all fryer surfaces. Allowing the cleaning solution to sit for a few minutes helps break down grime and grease. This step is particularly important for heavily soiled areas.
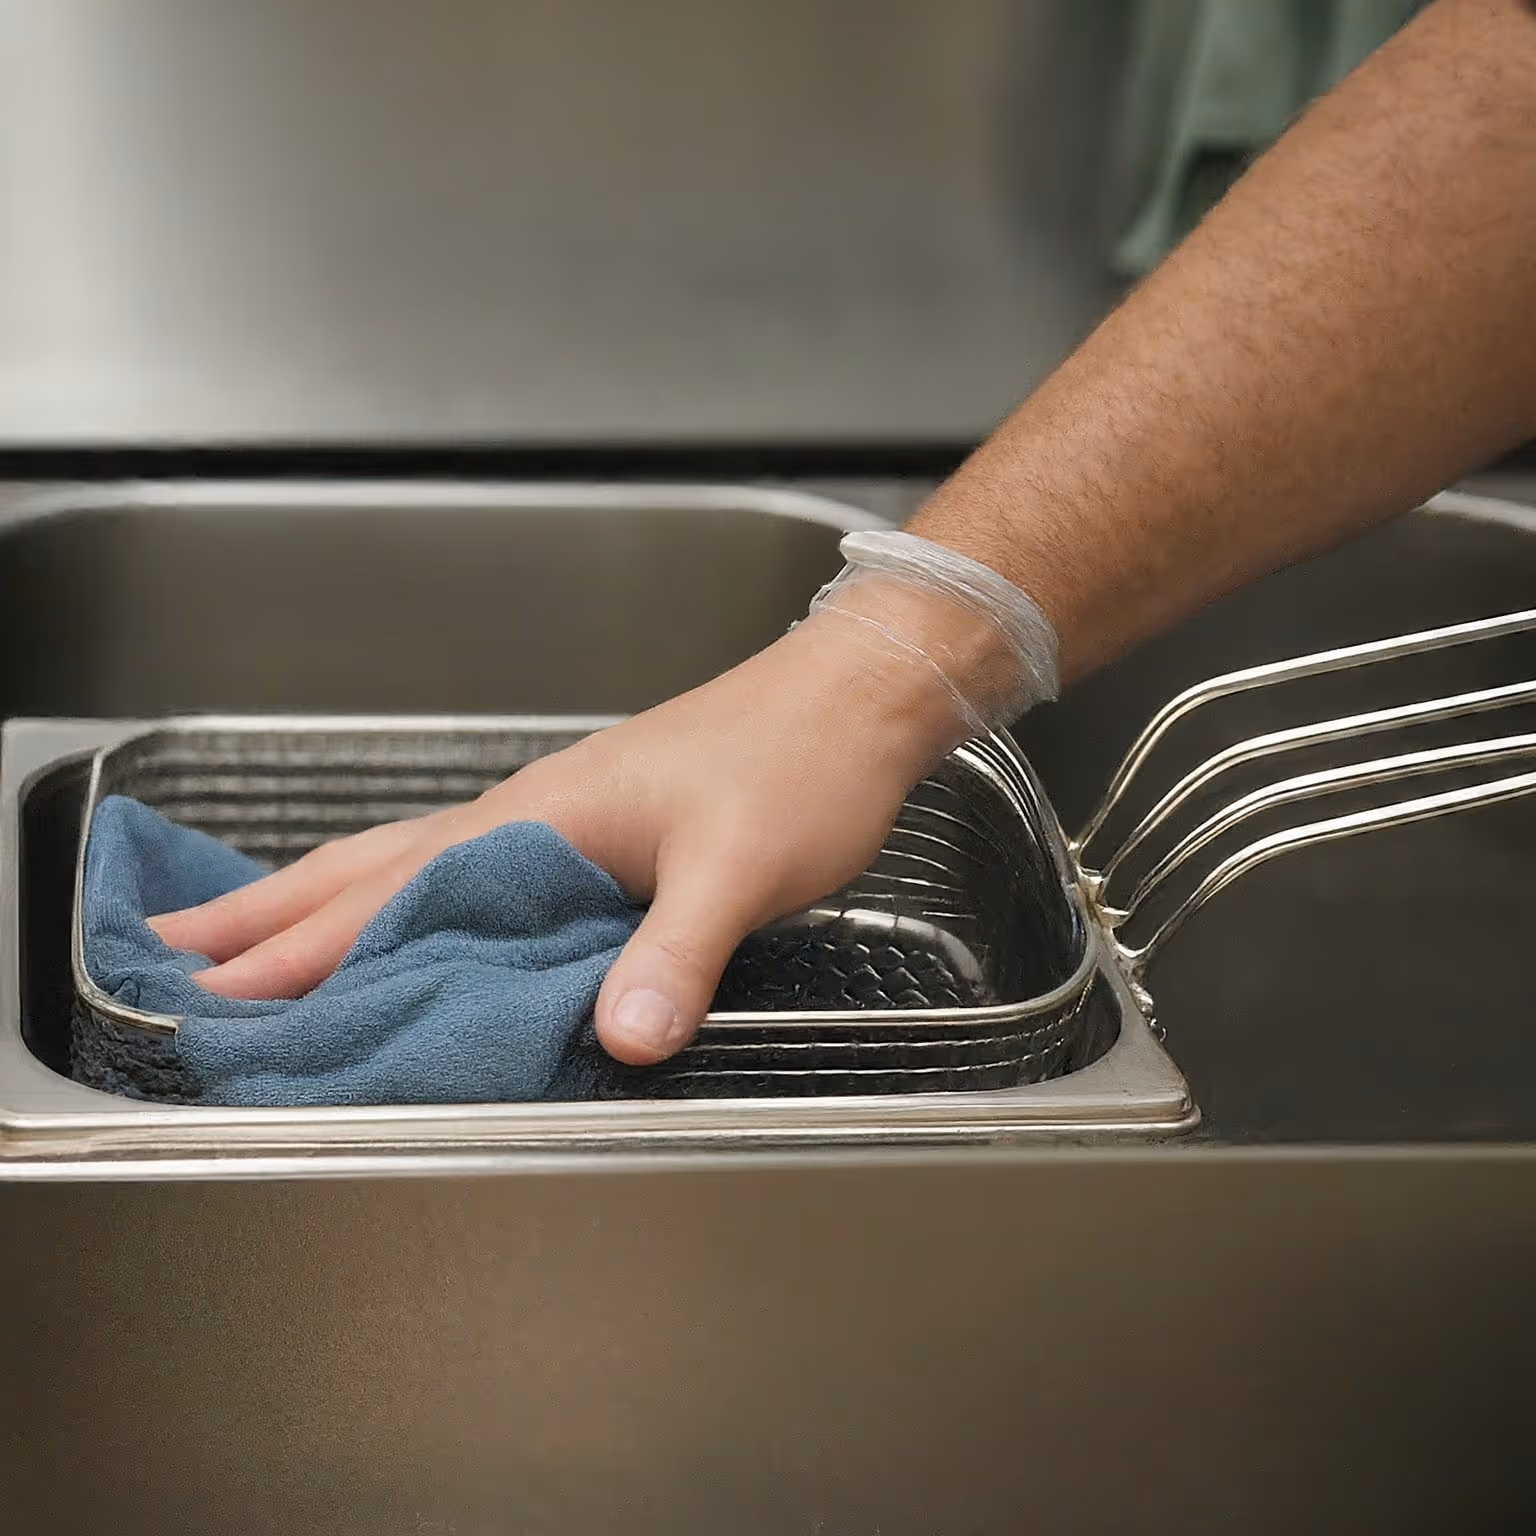
Always wear protective gear, like gloves, when handling strong cleaning agents. After cleaning, rinse the fryer thoroughly with hot water to remove any remaining cleaning agents. A well-executed cleaning routine results in a clean fryer and high-quality fried foods.
Drying and Refilling Your Fryer

After cleaning, ensure the fryer is completely dry before adding new oil to prevent contamination and ensure optimal performance. Excess moisture in the fryer can lead to safety hazards, so it must be dried properly before refilling.
Once the fryer is completely dry, refill it. Use fresh oil for refilling. This step ensures that your fryer is ready for the next round of delicious fried foods. Proper drying and refilling are essential for maintaining fryer efficiency and food quality.
Professional Servicing and Inspections
Annual professional inspections are recommended for a commercial fryer to ensure proper functioning. Inspections help detect worn components for proper replacement, ensuring the fryer operates safely and effectively.
Early issue detection through annual inspections can extend the lifespan of commercial fryers. Professional inspections offer clear information on fryer operation, aiding in maintenance decisions. Regular professional servicing is essential for a comprehensive maintenance routine.
Summary
Maintaining a clean and well-functioning commercial deep fryer is essential for any kitchen. Regular cleaning, from daily routines to monthly deep cleans, ensures that your fryer operates efficiently and produces high-quality food.
By following these tips and best practices, you can extend the lifespan of your fryer, reduce energy costs, and ensure the safety of your kitchen. Remember, a clean fryer is the secret ingredient to delicious fried foods.
Frequently Asked Questions
How often should I clean my commercial deep fryer?
You should clean your commercial deep fryer daily, do a thorough cleaning weekly, and perform a boil-out every month to keep it in top shape. Regular maintenance not only ensures food quality but also extends the life of the fryer.
What signs indicate that my fryer oil needs changing?
If your fryer oil has turned a dark color or your fried foods are tasting off, it’s definitely time to change it. Keeping an eye on these signs will help ensure your cooking stays delicious!
What safety measures should I take before cleaning my fryer?
Always make sure your fryer is turned off and unplugged, and let the oil cool down to below 150°F before you start cleaning. This will keep you safe while you tackle the mess!
How can professional servicing benefit my deep fryer?
Getting your deep fryer professionally serviced can significantly extend its lifespan by identifying worn parts and ensuring safety, giving you peace of mind while cooking. Regular inspections are a smart way to keep everything running smoothly!
Why is it important to dry the fryer completely before adding new oil?
It's essential to dry the fryer completely before adding new oil because excess moisture can create safety hazards and contaminate the oil. Keeping things dry ensures a safer cooking process and better oil quality.